You may not know this, but back in the 1980’s my quilting friends and I were bitten by the hand-dyeing bug. We delved into the world of Procion dyes, learning to create perfect step gradation in all the colors of the rainbow. For a while, I even sold my fabrics. But then, a lot of others also began selling commercially, places like Cherrywood Fabrics and Starr Design Fabrics. Only they did it full time and had large scale productions. I LOVED their products. In fact, I was so enamored that I stopped dyeing altogether now that I had a steady stream of whatever color I wanted! But, as with all things wonderful, the desire returned — not to make fabric, but to make other fun stuff, like socks!
Bamboo Art Socks
My friend and compatriot who-has-a-strong-influence-on-me, Donna Barnitz, and I began by dyeing art socks for a group home that housed 8 women several years ago. Two of those women happened to be my mom, and the woman she cared for, Ruth. We decided that the perfect gift for someone who lives only in a room and is never going to get better was to make socks – Lots ‘O Socks! We made sock-filled goody bags for all the residents and the staff! It was a marvelous Christmas! Since then, both of us continue to dye socks. Here’s how we do it!
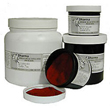
Procion Dyes
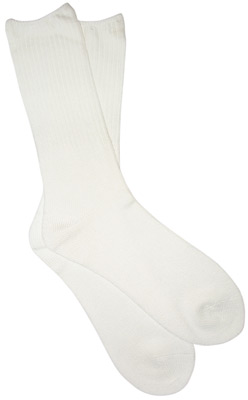
Bamboo Socks
Soda Ash Fixative
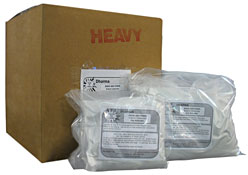
Start by visiting our favorite supplier, Dharma Trading Company. They offer increasing discounts on their merchandise depending on the amount purchased. So gather up your friends and place a big order – read BIG discount!
It only takes a teeny bit of dye for intense color, so just order the smallest quantities of dye! One jar will last a long time. While you’re ordering, you might just want to purchase one of their little squirt bottle assortments. When filled with different colors of dye, the bottles allow nearly exact placement of the dyes, almost like painting.
Dharma also offers a wide variety of other dyeables, ranging from clothing to cotton socks and infant apparel. I like bamboo socks because they are so soft, take the dyes well, and feel luxuriant next to my feet.
It’s like being a kid on Christmas day when your order arrives. Unpack all your materials and launder them in hot soapy water.

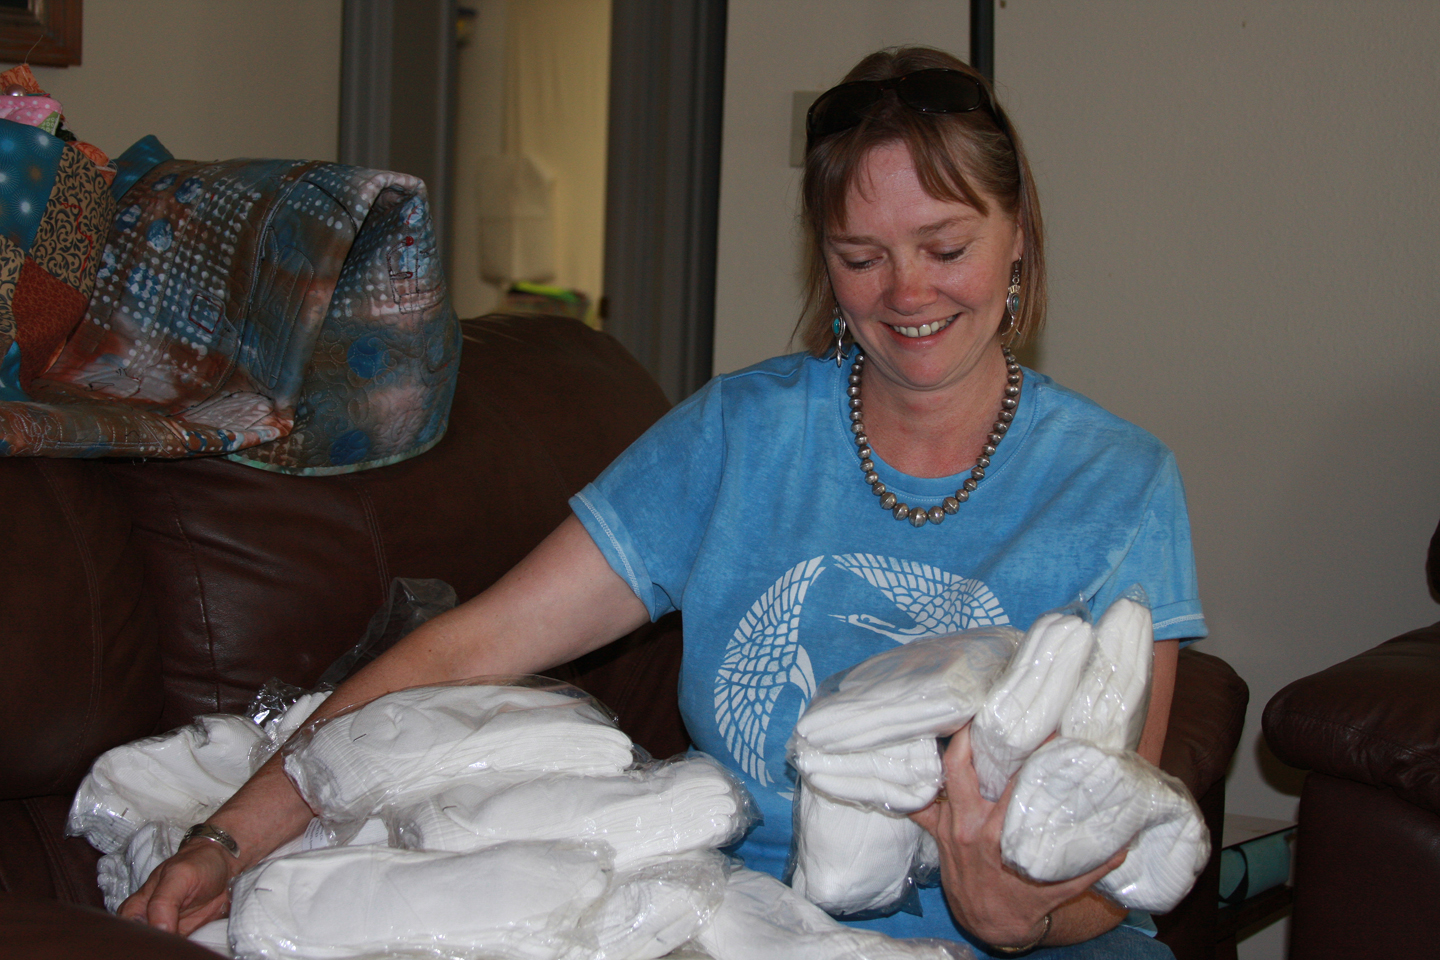
Donna unpacks the socks!
Next mix up a five gallon bucket filled with soda ash fixative and warm water, following the directions on the package. Place your dyeables into this solution and let them sit for an hour or more, even overnight. Take the socks out, squeeze out the mixture, and then hang to dry. Your socks can be stored this way until you are ready to dye. At my house, they sometimes stay like this for a long time.
Next, mix the procion dyes with warm water, wearing a dust mask so you don’t inhale the powdery dyes. Experiment with the intensity you prefer, remembering that the laundered wearables will be paler than they first appear when the dye is applied.
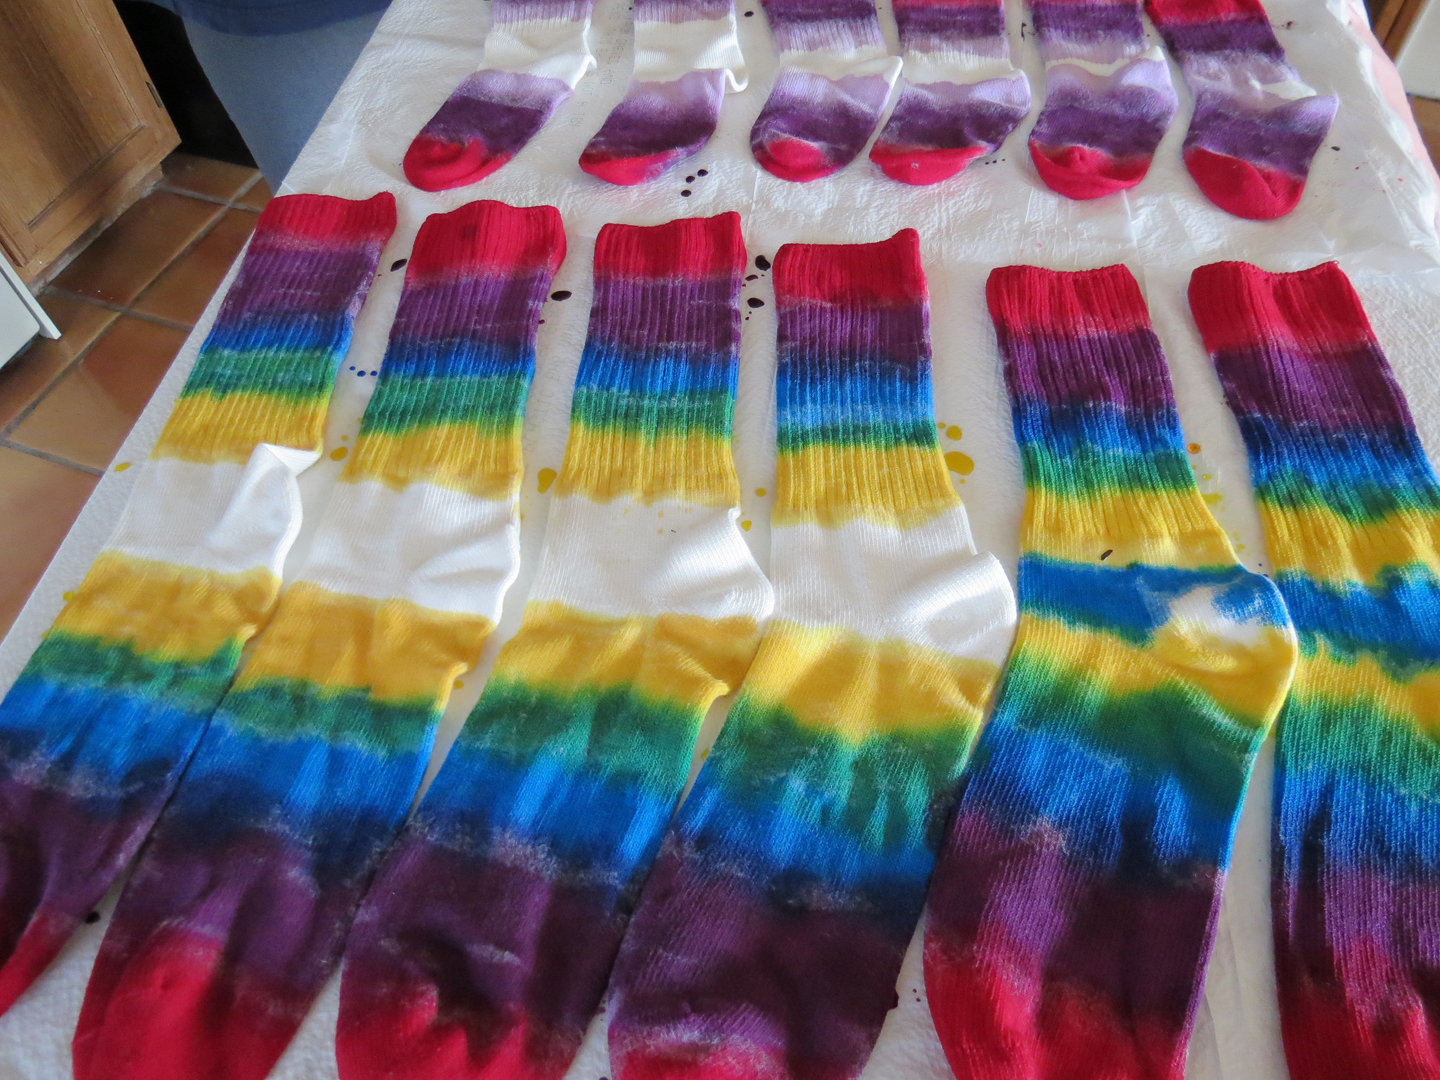
You’ll also need a large flattish tub, like those under the bed storage containers, lots of kitchen garbage bags and a tile floor that can be wiped up. I use my small 4′ x 30″ folding table and cover it with the plastic bags. Lay the socks out so they don’t touch.
First Dip!
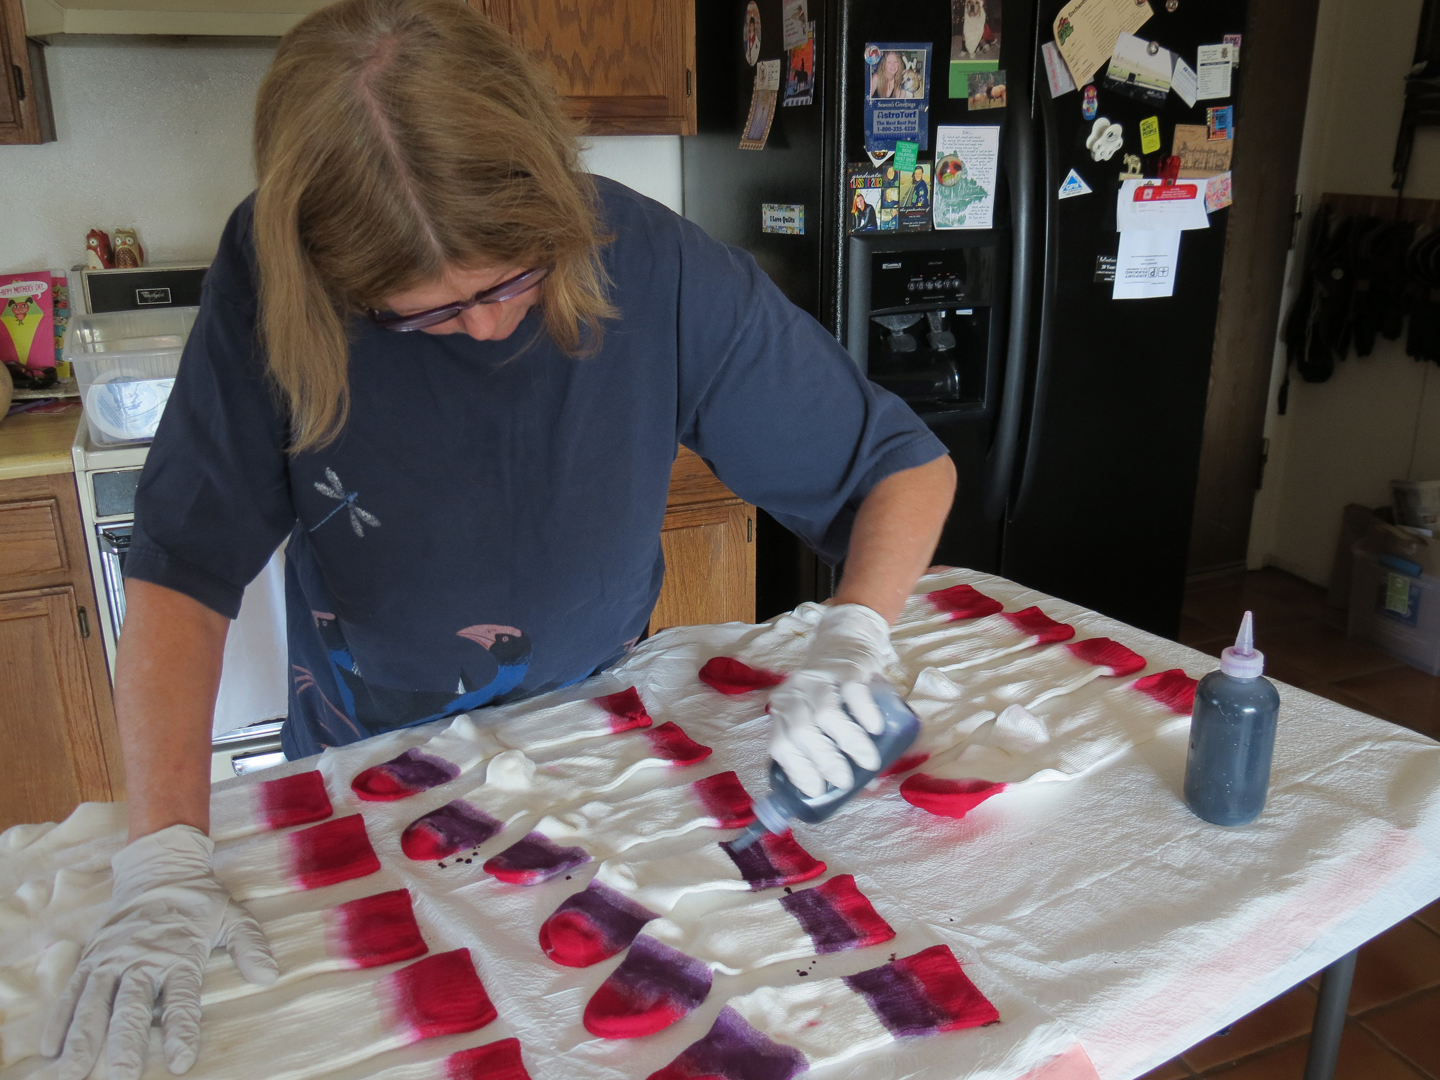
One way to make the process go faster is to leave some of the dye in a small plastic tub (like a butter tub), then fold the socks in half and dip the top and toe in the solution.
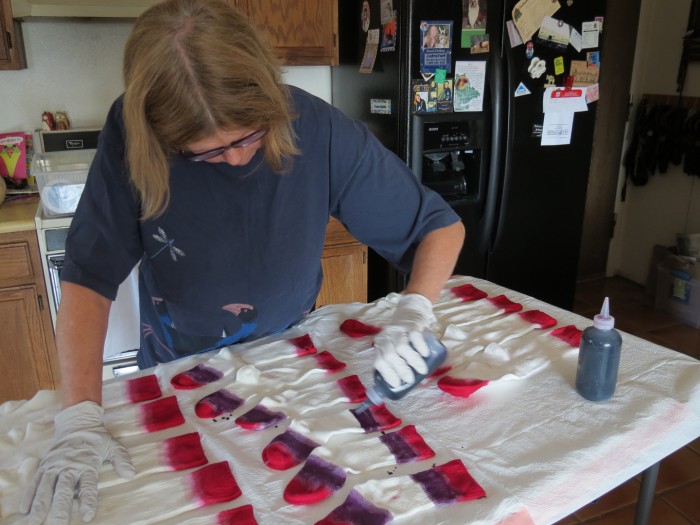
Squirt Bottle Dyeing
Using the desired color, squirt the dye onto the sock. The dyes will bleed into each other making some fascinating shading. Try putting turquoise next to yellow and see what happens. Once you have finished dyeing all the socks on the upward-facing side, turn them over and repeat on the other side.

Socks in Progress
Keep working from the two ends toward the middle, trying not to let the newly added colors drip on the already dyed areas.
Almost done now!
Be sure to keep the plastic covering wiped up so the socks don’t accidentally pick up any spilled drops. Once both sides of the socks are completed,

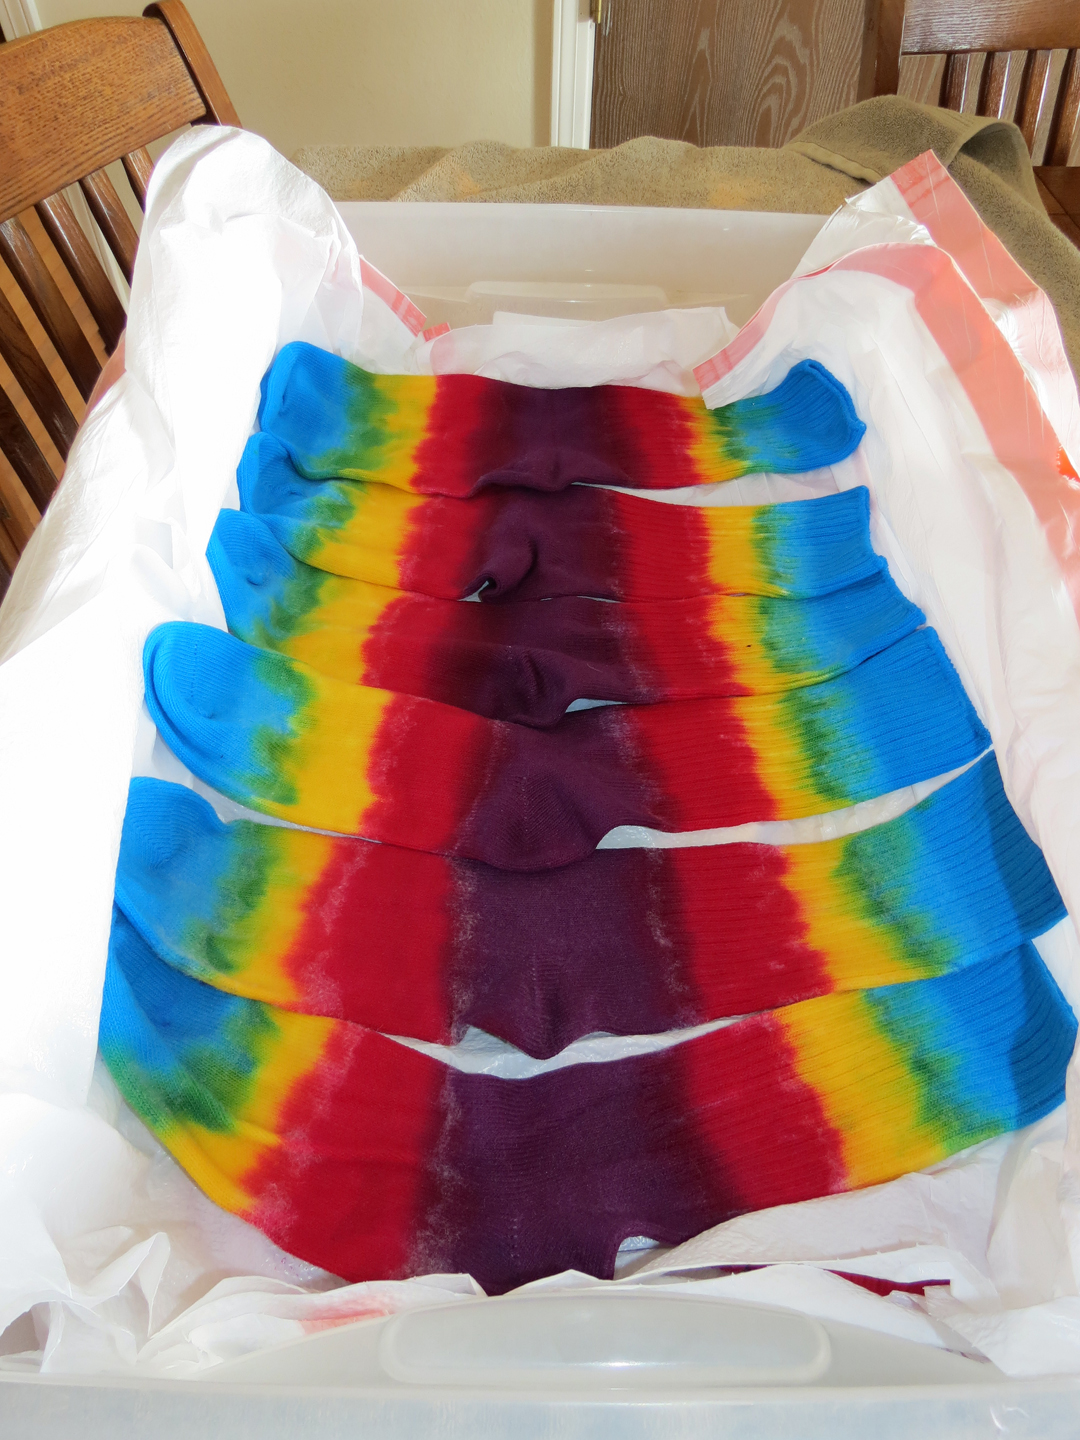
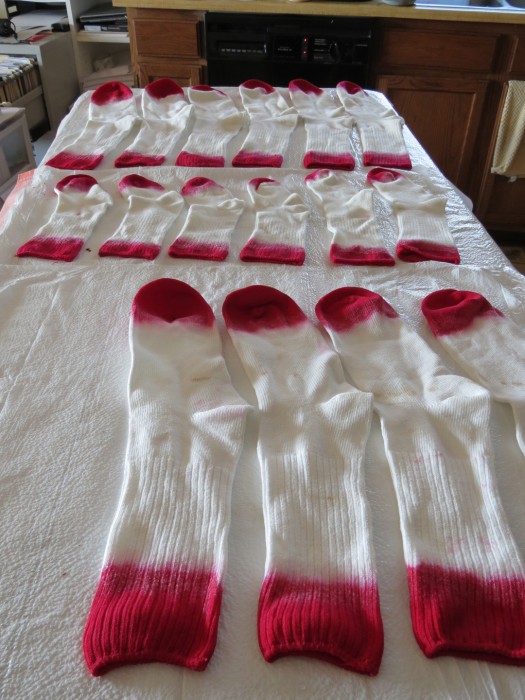
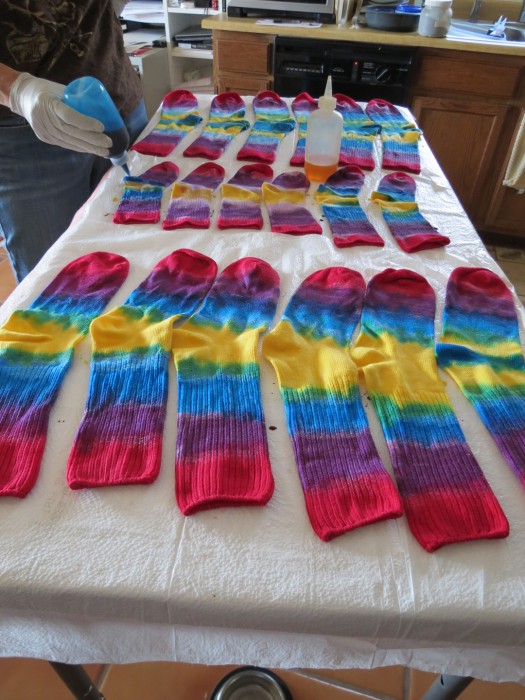
Resting Art Socks
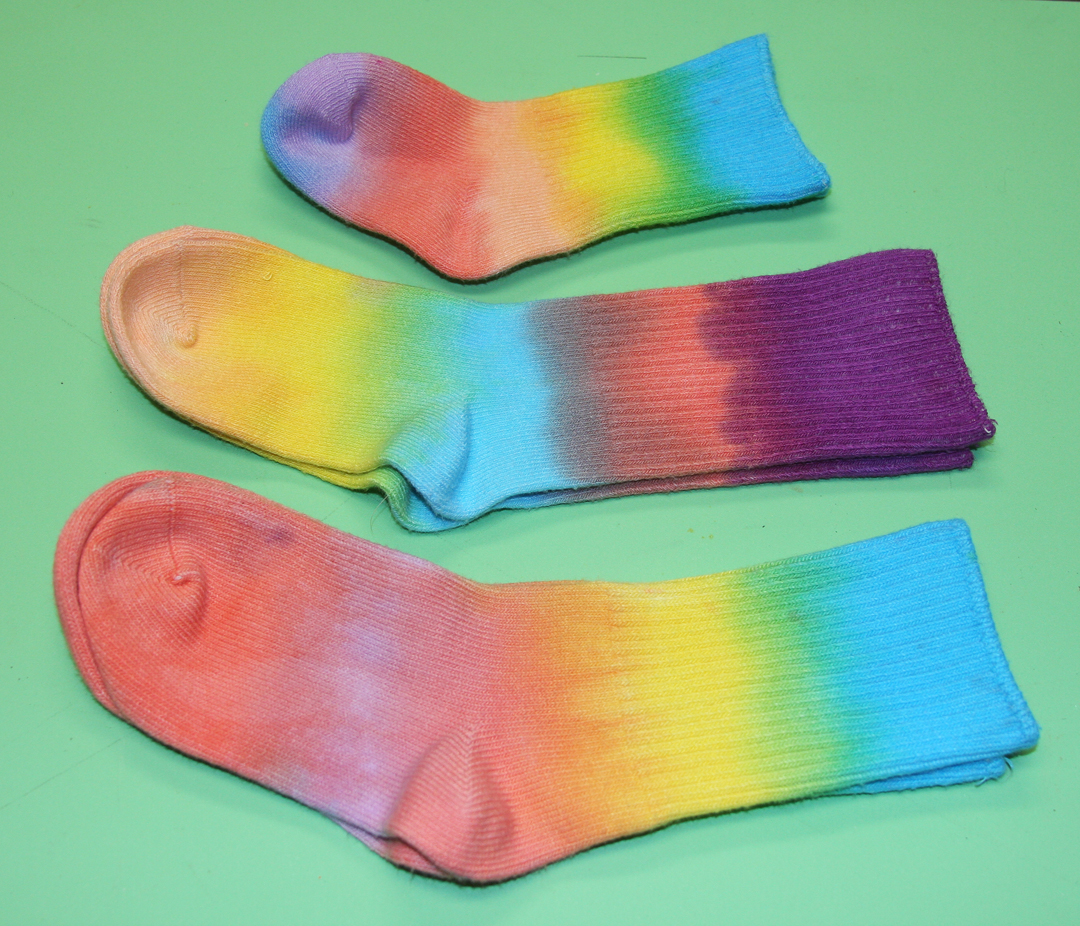
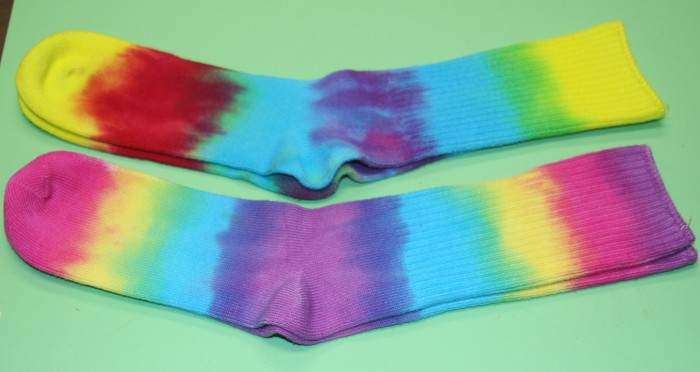
lay them next to one another so that only like colors touch. Place a layer of plastic between each layer of socks. Cover them all and let them rest at room temperature for 24 hours. Once that is done, your socks are ready to rinse. I begin by rinsing them in the sink with warm water. I do this by hand, several times, until the water runs mostly clear. Toss them into the washing machine and launder on hot with regular laundry soap. Your art socks are ready to wear. If you add a pretty handmade label, they also make a nice gift, or a special item to sell at a craft show. I sell Art Socks on my website too, and they sell very well to students when I teach classes.

Kid’s Art Socks
I’m linking up with: